
![]()
|
|
|
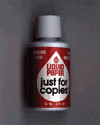
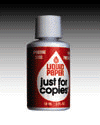
| Most relatively flat objects can be "photographed"
by your scanner assuming they fit on the glass platen! What is particularyly
nice is how fast and easy it is to obtain "photos" this way. And you don't
have to negotiate the rights to the images either. The obvious problem
with flatbed scanners is lack of lighting control. You'll basically have
to take what you get from your particular scanner. In this regard, each
scanner will be slightly different. Most scanners will cast a slight shadow
on a 3d object in one direction, due to the angle of the light to the optics.
However, I prefer this to a equally lit scan devoid of shadows.
|
 |
Step One
Determine where you want the shadow on your image to fall by making a preliminary scan. Reposition the object and its backing on the scanning bed if the shadowed side of your image isn't exactly where you want it to be. To create a lighter shadow, apply additional lighting by positioning a light source (such as a table lamp) underneath the lid, close to the object, resting on the platen. Be careful when doing this - table lamps can get very hot! |
 |
Step Two
Use channel masks in a photoediting program such as Photoshop to change the background. First mask the object by using the selection marquee and the option key to create a continuous selection path. When the object is selected, save the selection to a channel, invert it (to select the background region) and use the gradient fill tool to fill the background with a smooth blend. |
 |
Step Three
The final result is equivalent to the effect of studio lighting at a fraction of the cost. |
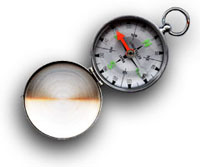 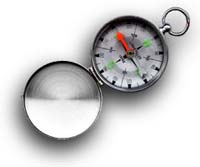
Scanning Metallic Objects Color scans of metallic objects inevitably produce rainbow patterns in some portions of your image, similar to what's shown above. |
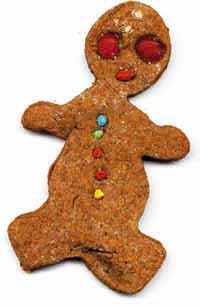 |
Scanning Food
The most important thing to remember is cleaning up afterward. Other than that, you'll be impressed at how good food looks when scanned. The soft, natural shadow created by the scanner is very close to the effect of studio lighting. |
| Email: | comments@hsdesign.com |  |
|
| Design by: | Haywood & Sullivan | ||
| Copyright: | © 1996 Michael J. Sullivan | ||